Cloning a VM
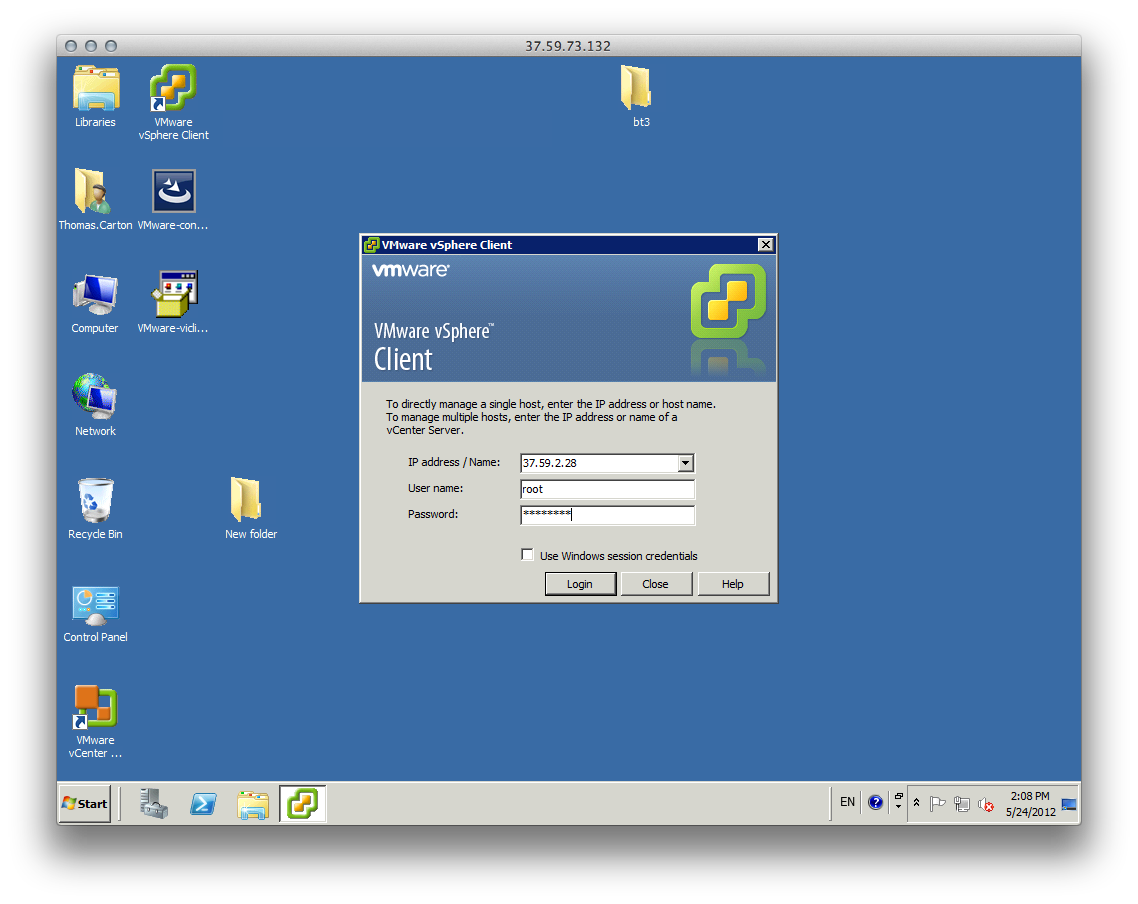
- First login with the VMware vSphere Client
- Select a VM
- Click on the "Summary" tab
- Right-click on the datatstore and select "Browse Datastore"
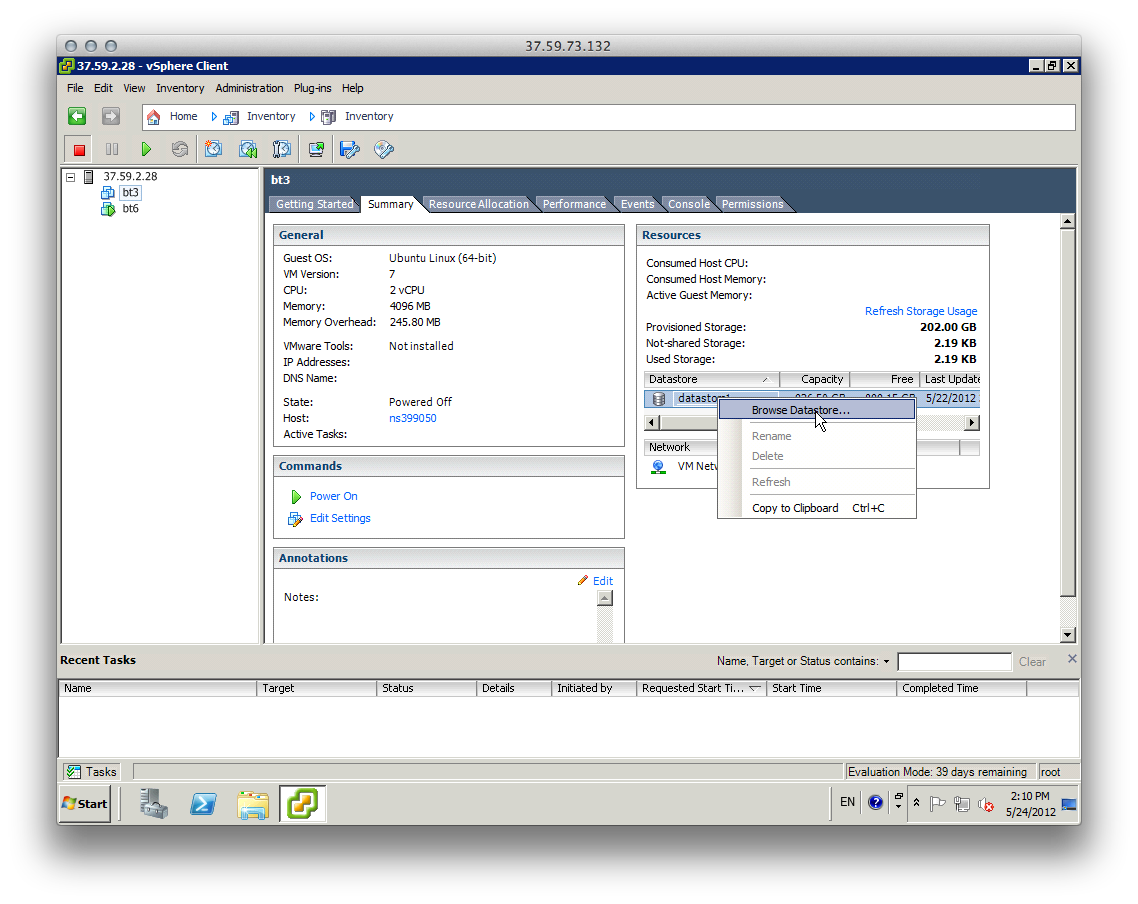
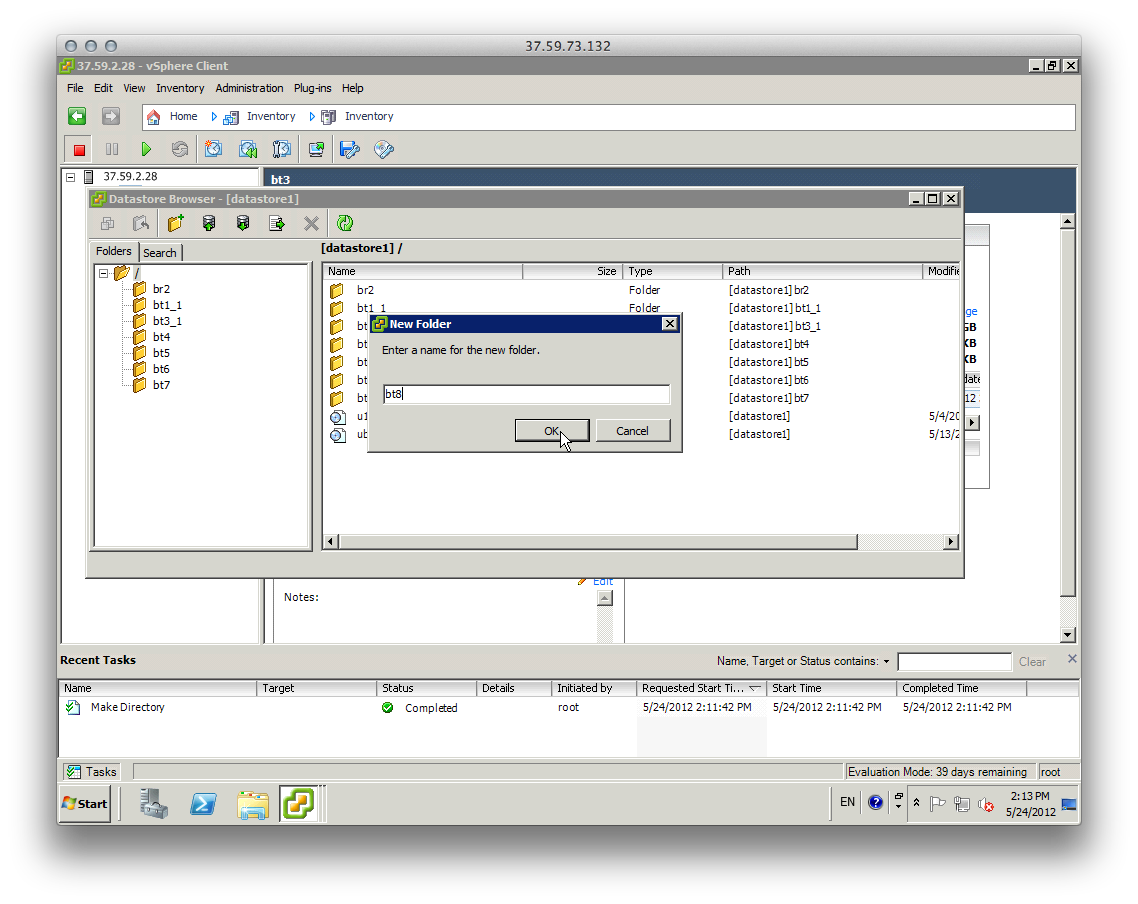
- This triggers a new window, the "Datastore Browser"
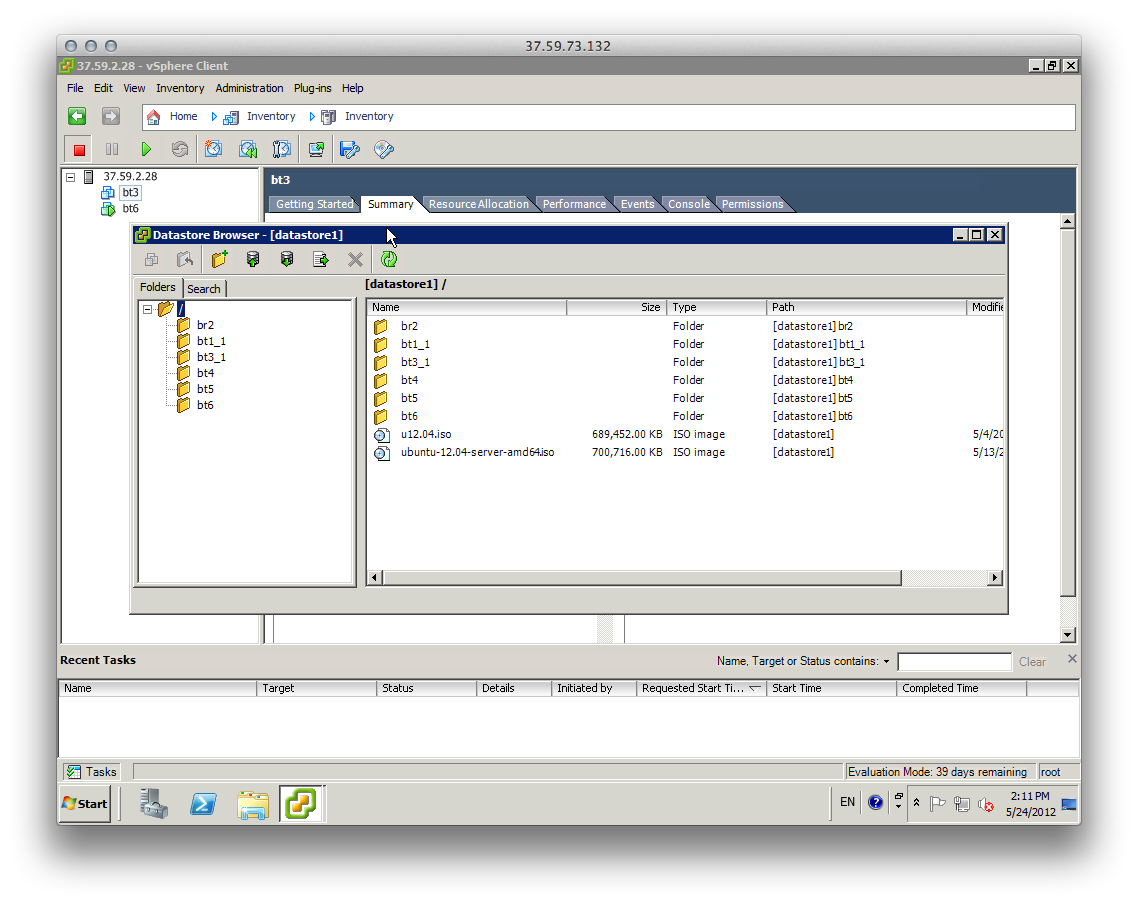
- Create a new folder (here it's "bt8") just below the root folder
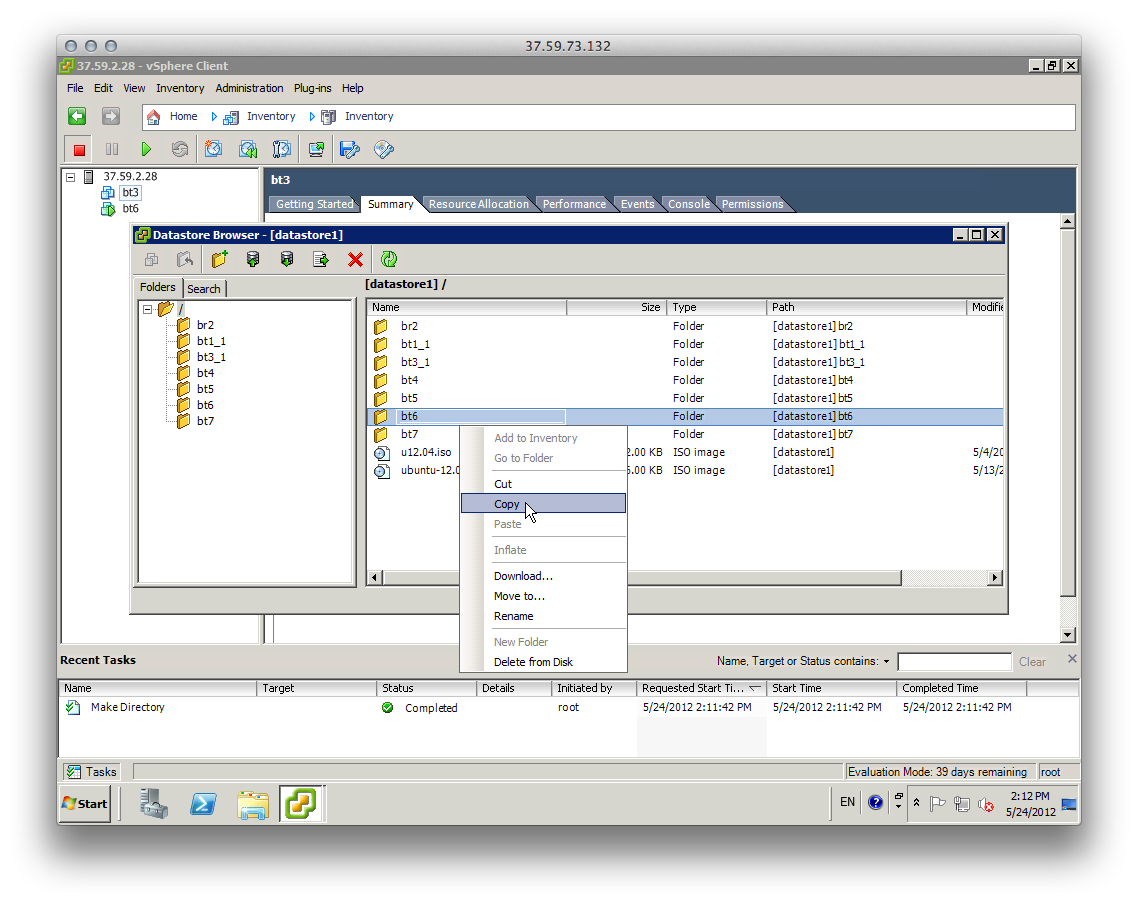
- the select the root folder on the left pane so that all second level directories appear on the right pane
- Right click ont the VM you want to clone and select "Copy"
- Left click on the newly created directory, right-click in the right pane and select "Paste"
- Once the operation is finished (might take a while) you can reboot the source VM if you wish.
- Go to the subfolder of the newly created BTX, enter the subfolder , select all its contents, right-click and select '"Move".
- Move everything to the upper level
- I know it seems a bit weird but I've read many threads encouraging this instead of pasting the content directly into the newly created folder
- Point to the .vmx file.
- Rename it according to the new scheme
- Right click it and select "Add to Inventory"
- Close the Datastore Browser
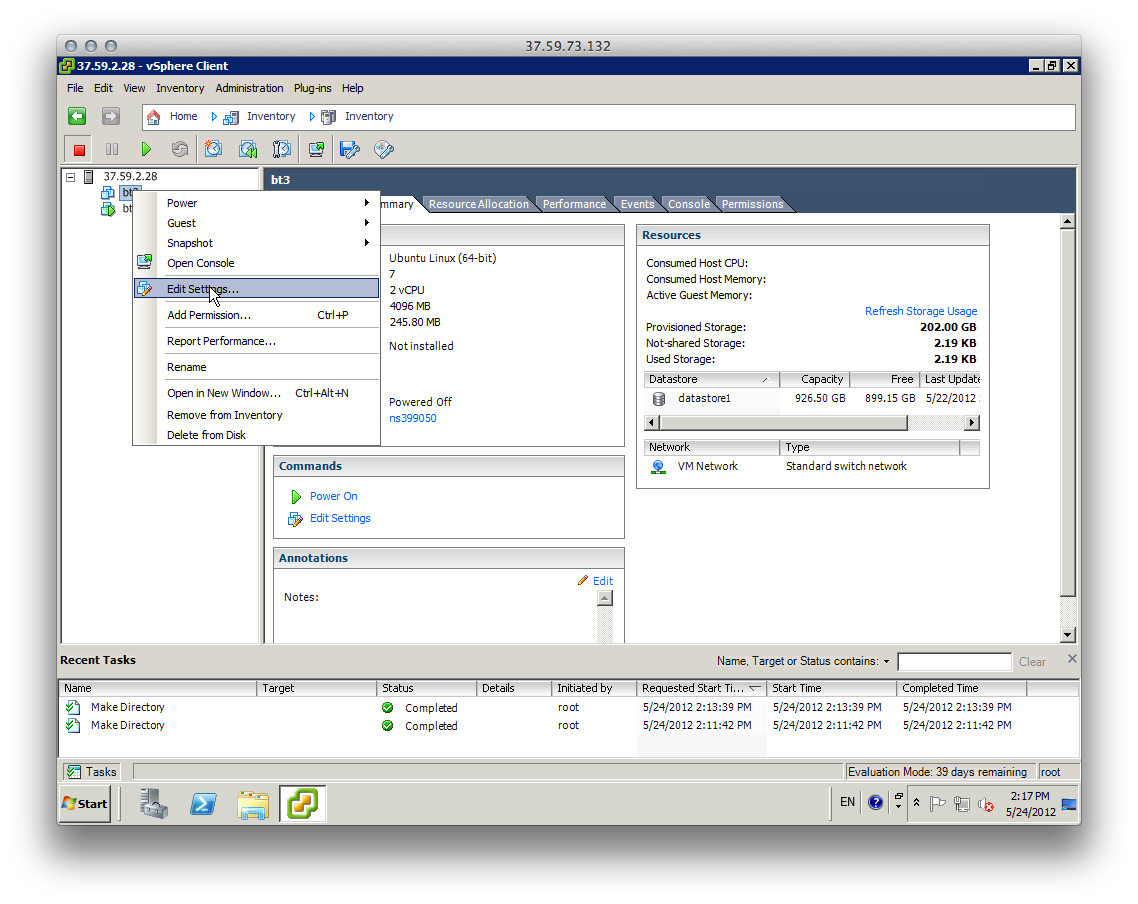
- The new VM appears ont the right panel, right click it and select "Edit Settings ..."
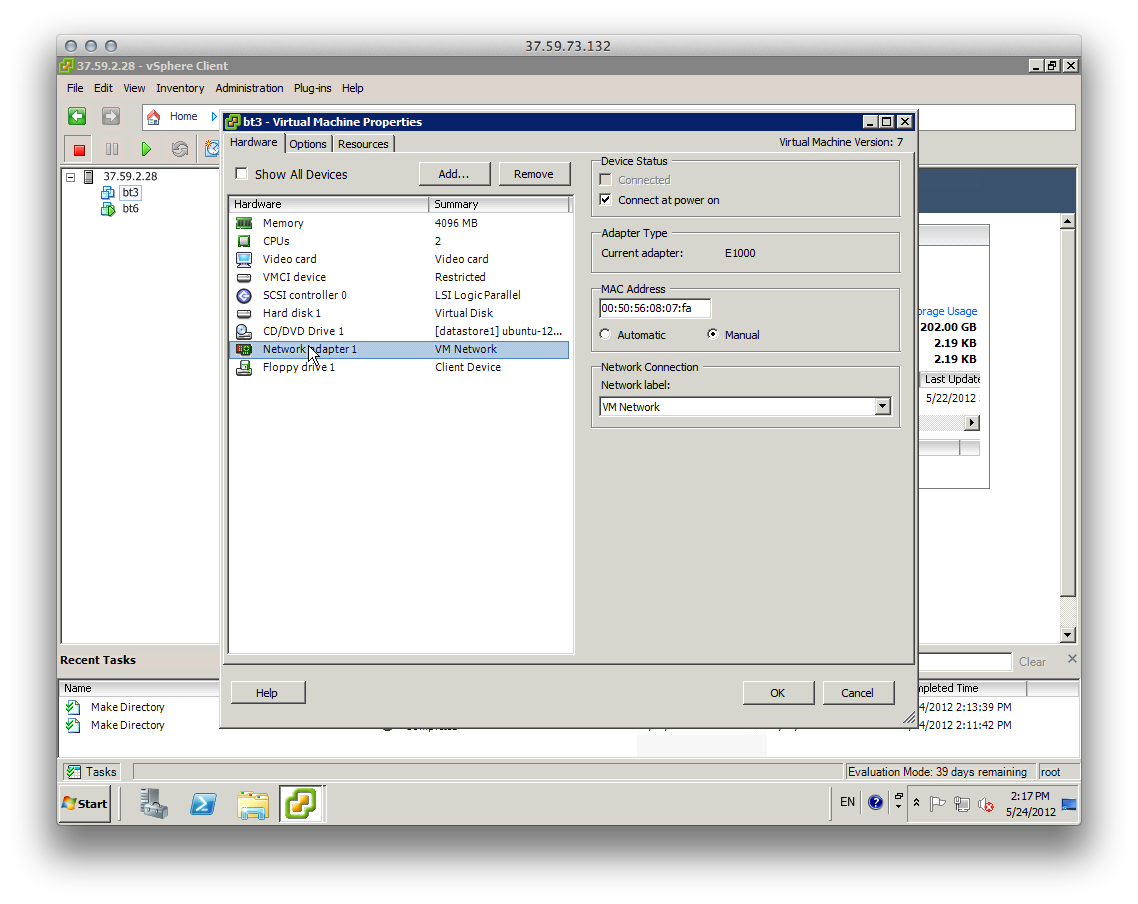
- On the "Hardware" tab click on the Network adapter line and set the MAC adress that corresponds to one of the available IPs
- Beware that screwing with this will get you in an infinite loop with the OVH support team in order to unblacklist your server.
- Simple rule = one IP adress on one VM with its associated MAC adress. Everything else will fail.
- Now that server has a MAC adress you can start it.
- Switch to the "Console tab" and log into the machine. We have to set the IP adress and the hostname.

- Edit the "interfaces" config file

- Change the values of the "address" and "broadcast" keys with the IP associated with the MAC address
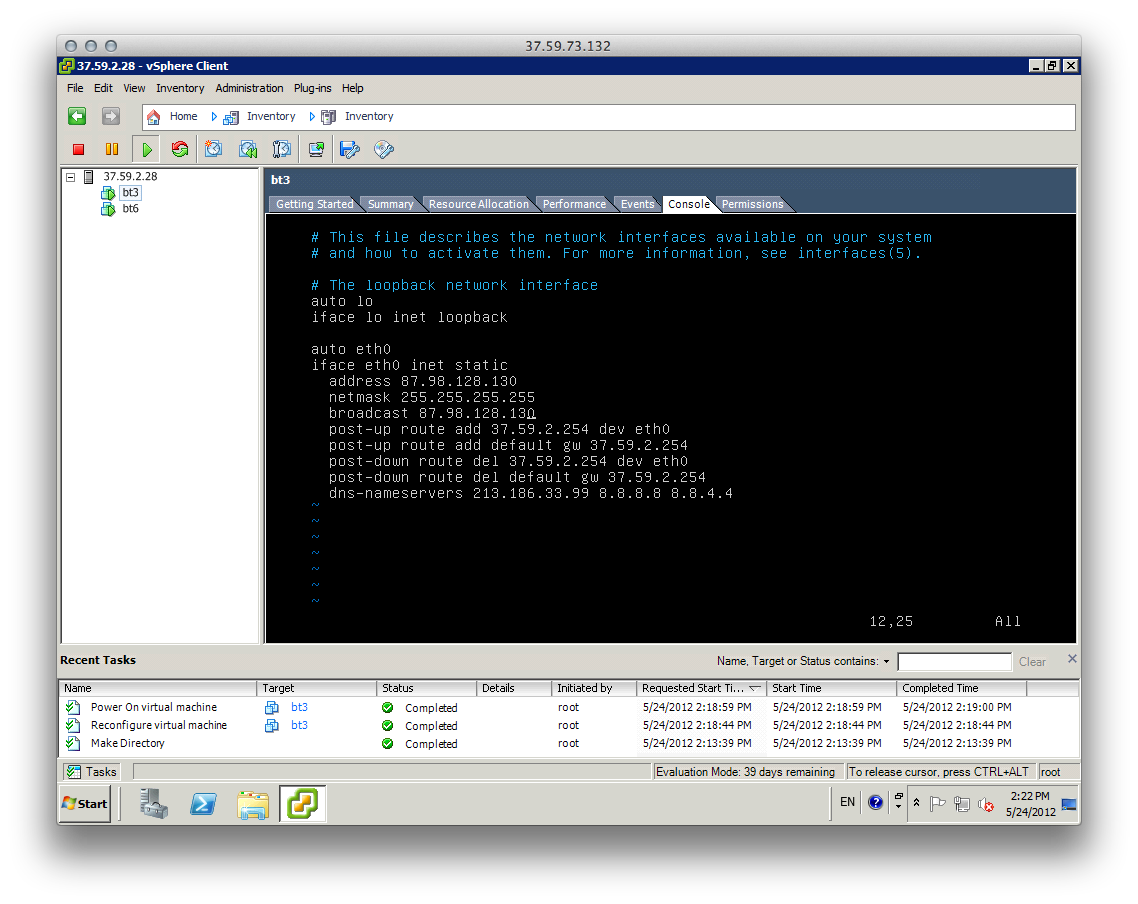
- Restart the networking service

- Lets also update the hostname

- Let's give it a consistent hostname

- Try to ping google to see that network is operating correctly
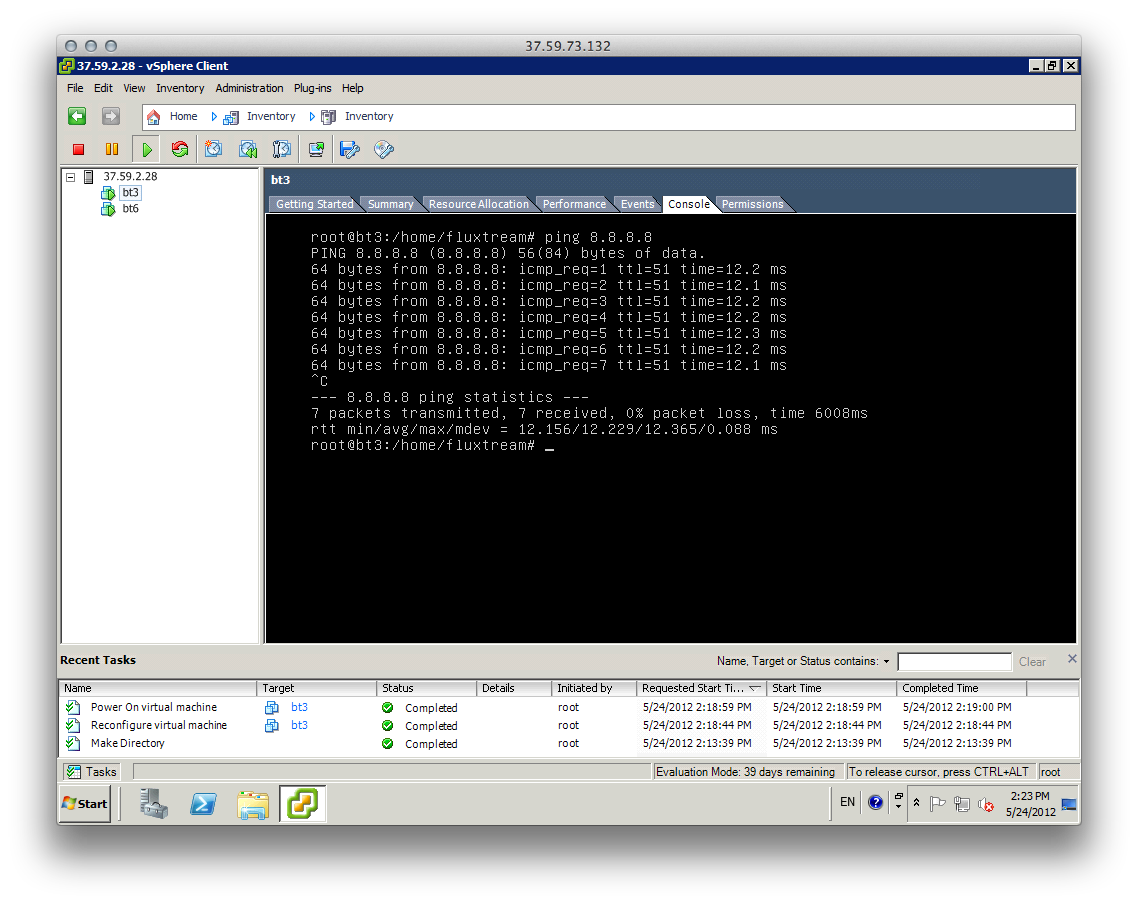
- Voilà. You can now SSH to the machine, stop clicking and start working.